Chimney cakes meet hands-on baking. I love how this workshop turns a sweet Hungarian treat into a guided, do-it-yourself session, and I also like that you end up making three chimney cakes to bring away. One thing to keep in mind: it’s not suitable for children under 10 or for people with mobility impairments, and there’s no room for luggage or large bags.
You’ll meet at Kató Néni Finomságai Downtown and follow a clear, step-by-step flow in English, from sweet dough to the cone-wrapped spiral, then sugar coating and oven time. Expect a simple setup and a friendly pace, plus a certificate with your name and a recipe so you can recreate the magic later.
In This Review
- Key things to know before you go
- Getting started at Kató Néni Finomságai Downtown
- The 1-hour cooking flow: from strips to a caramel-crisp crust
- A short intro, then straight into baking
- Dough, strips, cone, and the signature sugar coat
- Oven time and the moment the crust sets
- Finishing: choose your flavor coating
- What Kürtskalács really is (and why the method matters)
- Your three cakes: how the workshop makes it fun and practical
- What you take home: recipe, certificate, and leftovers
- Price and value: is $40 for a 1-hour class worth it?
- Who this workshop suits best (and who should reconsider)
- Quick practical tips for a smoother class
- Should you book the Budapest chimney cake workshop?
- FAQ
- How long is the Hungarian chimney cake workshop in Budapest?
- How much does the experience cost?
- Where do I meet for the workshop?
- Is the instruction available in English?
- What will I make during the workshop?
- Can I take the recipe home?
- Are drinks included?
- Is it suitable for children?
Key things to know before you go

- You’ll make 3 Kürtskalács chimney cakes with chef guidance, not just watch.
- The sugar caramelizes in the oven into a shiny, crisp golden crust.
- You’ll learn the full process: dough prep, strip-wrapping, cone shaping, and coating.
- You can finish with flavors like simple sugar, coconut, or cinnamon.
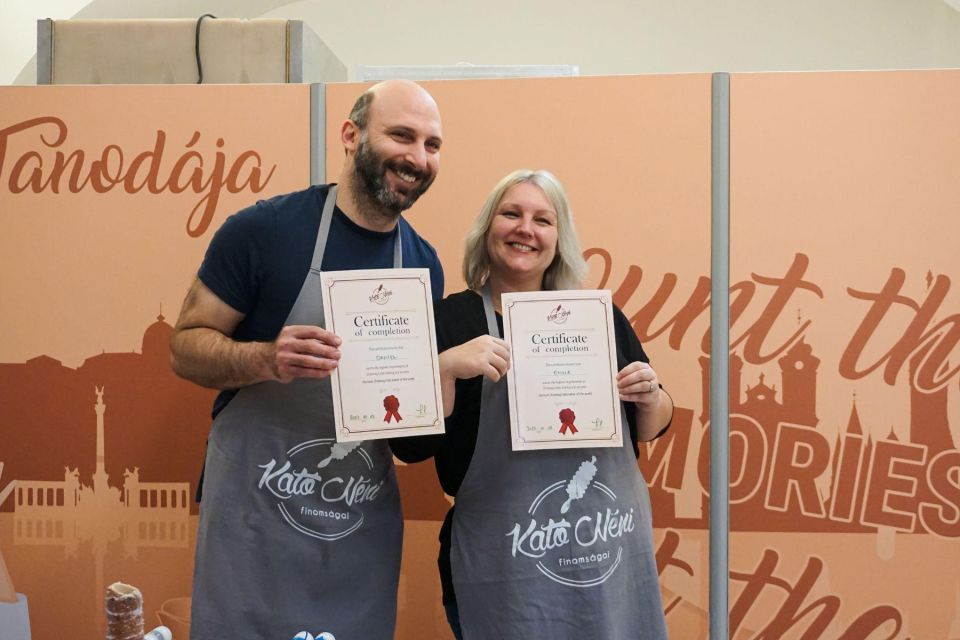
- You’ll take home a recipe and a completion certificate (with your name).
- Instructors teach in English, including teachers like Betty, Vlatz, and Tabitha in past classes.
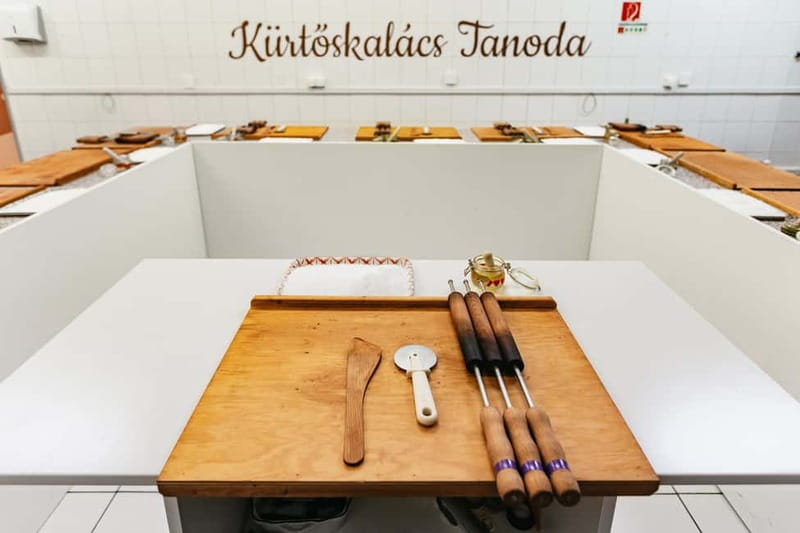
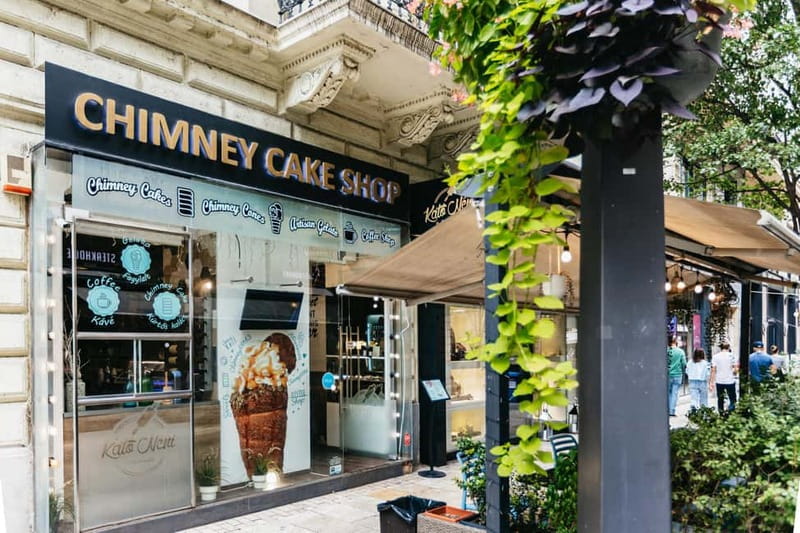
Getting started at Kató Néni Finomságai Downtown
This is a classic Budapest “step inside and get going” kind of activity. Your meeting point is Kató Néni Finomságai Downtown, and the instruction is straightforward: enter the shop on arrival, then ask for the chimney cake workshop. That’s it. No wandering, no complicated transit puzzles.
The workshop setup is in the bakery space, and in at least one class it’s described as happening in the basement area of the bakery. That matters for you because comfortable shoes help—this isn’t a sit-and-sip experience. Also, plan to travel light. You can bring yourself and your clothes, but luggage and large bags aren’t allowed.
If you care about value, this location is a big deal. You’re doing a hands-on food workshop right in the city center, where it’s easy to tack onto a sightseeing day—especially if you’re already exploring in the downtown area.
You can also read our reviews of more city tours in Budapest


The 1-hour cooking flow: from strips to a caramel-crisp crust
The workshop runs about 1 hour. Starting times vary, so you’ll want to check availability before you build the rest of your day. The tempo is fast enough to feel satisfying, but not so rushed that you can’t keep up.
Here’s what the session experience looks like once you’re inside:
A short intro, then straight into baking
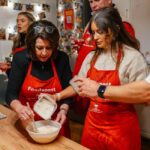
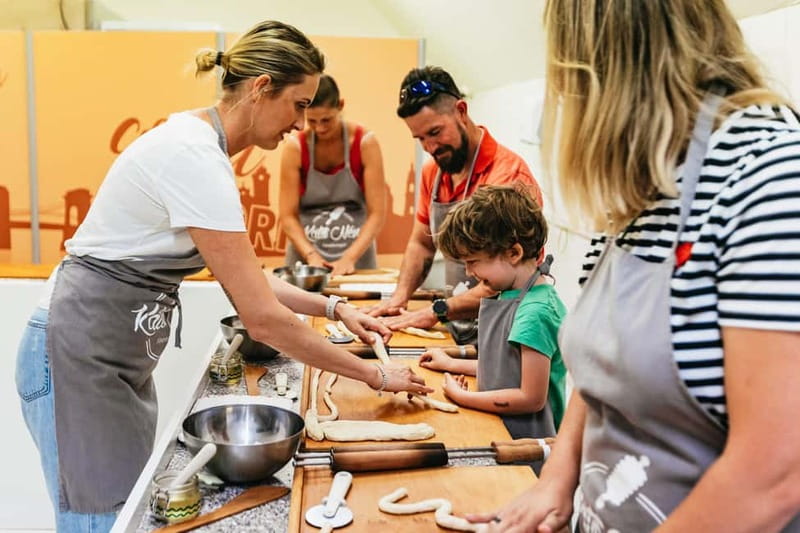
Expect a brief introduction first—history and tradition of Kürtskalács—then you move quickly into the work. The class format is very practical: you’re guided step-by-step as you shape and assemble your chimney cakes.
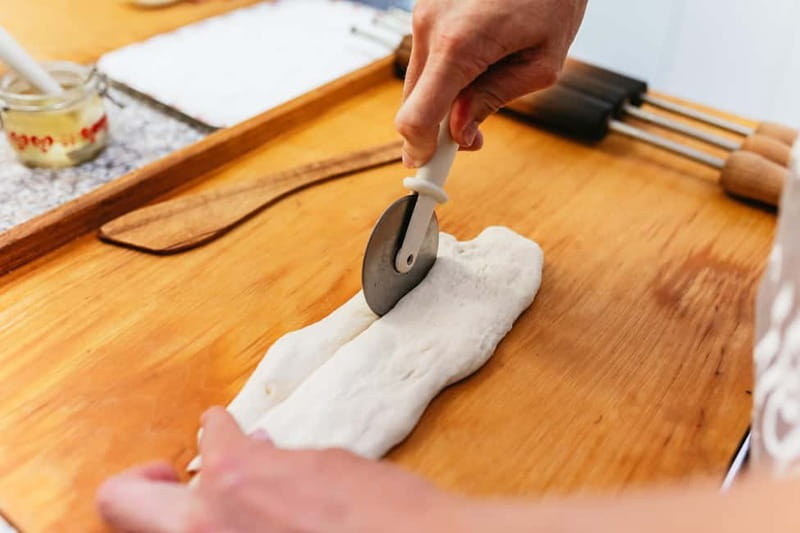
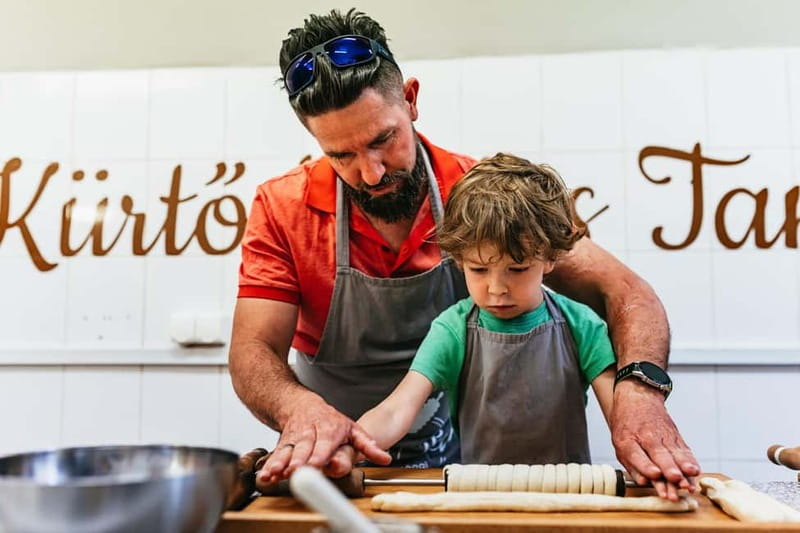
Dough, strips, cone, and the signature sugar coat
The key technique is forming Kürtskalács the traditional way. You’ll work with sweet dough that’s turned into strips, wrapped around a cone, then rolled in sugar. That cone shape is what gives you the classic spiral look, and it’s also what helps the sugar form that crisp outer layer when it bakes.
The best part is that you don’t just learn the idea—you practice the motion. Your chef instructor is there to help if a step goes sideways, and in past sessions the teaching style is praised for being patient and clear.
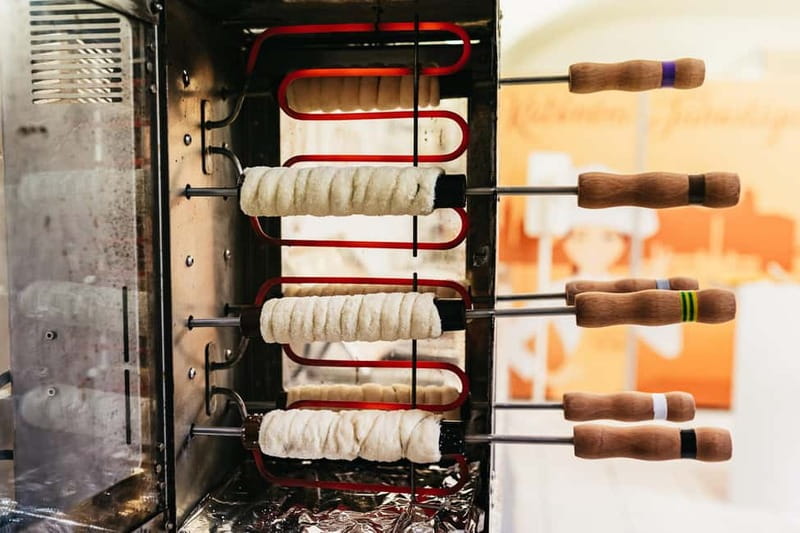
Oven time and the moment the crust sets
Once your chimney cakes are ready, you bake them. This is the “watch your kitchen project turn into dessert” stage. You’ll see how the sugar caramelizes in the oven and forms a shiny, crisp, golden crust. It’s the sensory payoff for all the shaping work.
If you’ve never baked something sugary before, you might not expect how quickly that color changes. That’s why the workshop is only one hour: the timing keeps the process tight and keeps the results consistent.
You can also read our reviews of more tours and experiences in Budapest


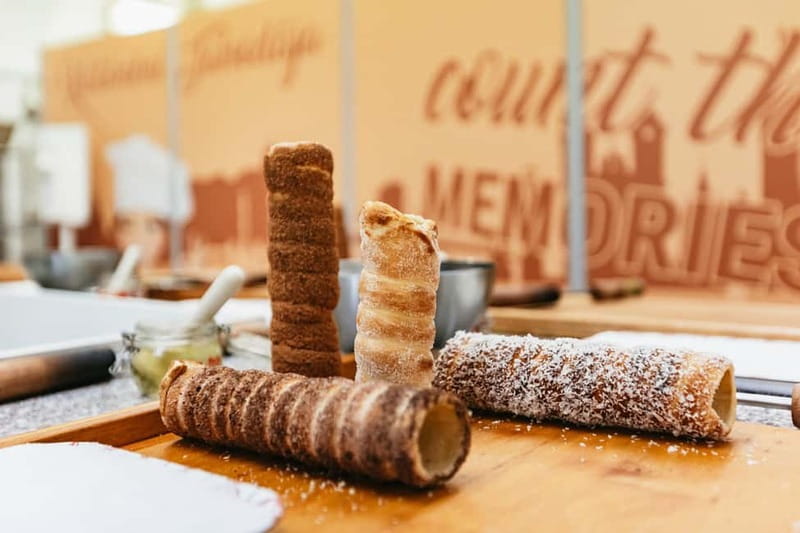
Finishing: choose your flavor coating
After baking, you’ll add flavor finishes. The workshop includes options such as simple sugar, coconut, or cinnamon. This matters because chimney cakes can be one-note if you only do plain sugar, and adding toppings gives you choices without turning the class into a long cooking session.
What Kürtskalács really is (and why the method matters)
Kürtskalács is Hungary’s beloved chimney cake, and the workshop doesn’t treat it like a random street-food stunt. It gives you the traditional context and then shows you why the method works.
The concept is simple: sweet dough + structured spiral shape + sugar coating + hot oven. But the details change the outcome.
- Wrapped strips around a cone create that uneven surface that helps sugar cling and crisp.
- Rolling in sugar before baking is what drives the caramelized crust.
- Baking to a golden finish is the moment you go from raw dough to a crisp shell with a soft interior.
I like that the instructor explains the process while you’re doing it. That’s how you stop memorizing instructions and start understanding what each step affects. For you, that means you’re more likely to repeat the results later.
You also get small pieces of tradition while you work. It’s not an encyclopedia lecture. It’s more like: here’s how this became part of Hungarian food culture, and here’s the technique that makes it what it is.
Your three cakes: how the workshop makes it fun and practical
One of the most useful choices this workshop makes is giving you three chimney cakes instead of just one. That changes the experience in a few good ways.
First, you get enough repetition to learn the technique. If your first cone wrap is imperfect, your second one usually improves fast. Second, you’ll have a chance to share. And third, you leave with plenty of edible proof that you did this yourself.
In past classes, the group size has been described as small enough for everyone to have workspace, with setups supporting around a dozen people in the room area. That’s a sweet spot: it feels social, but you’re not ignored.
You’ll also appreciate the level of support: ingredients and utensils are included, and the chef instructor guides you through each step. For beginners, that reduces stress. For experienced cooks, it still feels satisfying because you get a tangible result in a short time.
And yes—your stomach may start negotiating with you mid-class. One theme that shows up in feedback is that this is worth doing with an empty stomach, because once the cakes come out, the smell is hard to resist.
What you take home: recipe, certificate, and leftovers
This isn’t just a one-bite souvenir. You take your chimney cakes away, plus you get extras that make the day feel complete.
Here’s what’s included in your take-home package:
- Three baked chimney cakes from your session
- A certificate of completion with your name
- A recipe (described as a secret recipe by the workshop)
The certificate sounds minor, but it’s a nice touch—especially for couples, friend groups, and families. It turns an edible activity into a small keepsake.
The recipe is the real value. If you’ve ever bought a cooking-class ticket and wondered what you’ll recreate later, you’ll like this part. You leave with the instructions you need to try again at home instead of only remembering the flavor.
You should still plan for how you’ll transport warm or cooled pastries, depending on the timing. The workshop ends back at the meeting point, so you’re walking back into city life soon after baking. If you’re sensitive to sticky sugar, bring a bit of patience for mess-free handling.
Price and value: is $40 for a 1-hour class worth it?

At $40 per person, this workshop sits in the mid-range for cooking experiences in a major European city. The value comes from what you actually get, not just the fact that it’s food.
You’re paying for:
- Hands-on coaching in English
- All ingredients and utensils
- Baking time that produces a finished product you can take home
- The benefit of making multiple cakes (three)
- A recipe and a certificate
If you compare it to the cost of eating chimney cakes from a stand, the price looks higher. But here’s the trade: you’re not just buying sugar spiral nostalgia; you’re learning the technique and taking the product home in quantity. For many people, the best part isn’t eating one pastry—it’s feeling confident enough to make it again.
Also, because it’s only about an hour, it doesn’t swallow half your day. That timing matters when you’re sightseeing—especially if your itinerary is packed and you want a fun food block that doesn’t stretch into the evening.
Who this workshop suits best (and who should reconsider)
This experience is ideal if you want:
- A hands-on Budapest food moment (not just a tasting)
- Something interactive that works for at least a portion of the family
- A short activity you can fit into a busy day
- Clear, supportive instruction in English
It’s less ideal if:
- Anyone in your group needs accessibility support—this activity is not suitable for people with mobility impairments.
- You’re traveling with younger kids. The workshop is not suitable for children under 10.
A tip if you’re planning with friends: the class can be a bonding activity because everyone produces the same basic item and then compares results. It’s also a great “shared project” choice for couples, since the process is structured and the outcome is delicious.
Quick practical tips for a smoother class
A few small things will help you enjoy this more:
- Wear comfortable shoes. Even if the session is only an hour, you’ll be moving and working at a station.
- Dress comfortably. Baking stations can be warm, and you’ll stay engaged.
- Bring no luggage or large bags. Plan to travel light so you can focus on the work.
- Come hungry. The smell and fresh-baked crust are part of the experience, and you’ll want to be ready for the tasting moment afterward.
Should you book the Budapest chimney cake workshop?
If you want a food activity that’s both genuinely fun and genuinely useful, I’d book it. This is one of those classes where you leave with edible results plus a recipe you can use again. The three chimney cakes, the English instruction, and the way the sugar caramelizes into a crisp golden shell all make it feel like more than a novelty.
Skip it only if accessibility or the minimum age requirement is an issue for your group. Otherwise, it’s a smart choice for a city-center food moment—short, hands-on, and built around a dessert that’s worth taking seriously.
FAQ
How long is the Hungarian chimney cake workshop in Budapest?
The duration is 1 hour.
How much does the experience cost?
The price is $40 per person.
Where do I meet for the workshop?
You start at Kató Néni Finomságai Downtown. Enter the shop on arrival and ask for the workshop.
Is the instruction available in English?
Yes, the instructor teaches in English.
What will I make during the workshop?
You’ll prepare Kürtskalács chimney cakes, and you’ll make three chimney cakes.
Can I take the recipe home?
Yes. You’ll receive a recipe to recreate the chimney cakes at home.
Are drinks included?
No. Drinks are not included.
Is it suitable for children?
It is not suitable for children under 10 years old.