REVIEW · BUDAPEST
Budapest Photo Walks
Book on Viator →Operated by Budapest Photo Walks · Bookable on Viator
Budapest at golden hour is a cheat code. This photo walk gives you a customizable route and real practice time across classic river views and quieter angles, with tripod included for steadier night shots. I like that it’s flexible enough to match your fitness and your camera comfort, and I also like the way the guide can cover composition and camera settings if you need a primer. The only real drawback is that the exact stops and timing shift with weather and what you ask for.
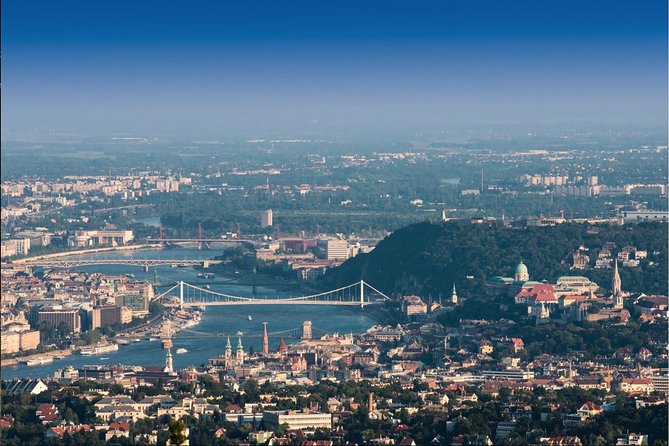
If you want your camera skills to improve while you travel, this is a smart use of a short window in the city. You’ll spend the time where the light and geometry do the work for you, including viewpoints on Gellért Hill and the Danube bridges that make Budapest instantly recognizable. One consideration: you’ll be walking and stopping often, so bring comfortable shoes and a plan to stay outside during the whole session.
In This Review
- Key highlights worth planning around
- Why a customizable photo walk beats a fixed city route
- Price and what you actually get for $179.74
- Day vs night in Budapest: pick your light, pick your mood
- Meeting at Batthyány tér and how the walk really runs
- Stop 1: Gellért Hill viewpoints, and how the guide helps you shoot smarter
- Stop 2 (night only): Castell de Buda and the Chain Bridge framing
- Stop 3: Liberty Bridge angles with Gellért Hill in the same frame
- Stop 4: Batthyány Square and the Parliament classic view
- Tripod included: how to use it without ruining the vibe
- Composition and camera settings help for beginners
- Pacing, fitness, and what to wear
- Who this photo walk fits best
- Should you book Budapest Photo Walks?
- FAQ
- How long is the Budapest Photo Walk?
- What does the tour cost?
- Does the tour include a tripod?
- Is there a day and a night option?
- Where do we meet, and where does the tour end?
- Can I cancel for a full refund?
Key highlights worth planning around
- Day or night itineraries so you can shoot in the light you prefer
- 4–5 viewpoint stops from Gellért Hill with the route adjusted to your needs
- Tripod included for sharper night and low-light compositions
- Chain Bridge, Liberty Bridge, and Parliament views in a tight 2–3 hour framework
- Maximum 2 travelers, which usually means more one-on-one attention
- Beginner-friendly coaching on composition and camera settings if you want it
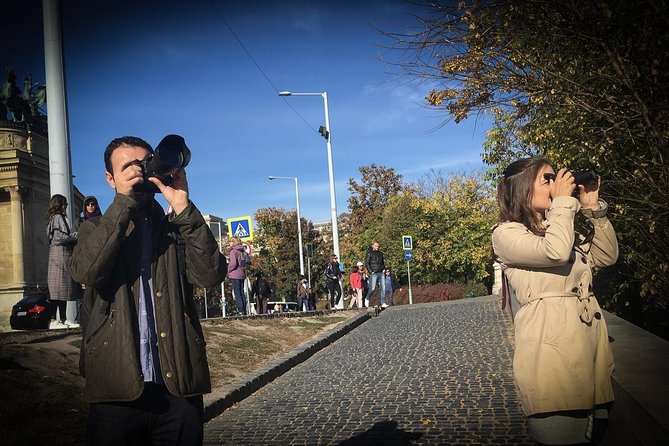
Why a customizable photo walk beats a fixed city route
A fixed sightseeing tour can be fun, but it often treats photos as a bonus. This experience treats photos as the point. You choose day or nighttime, and then the guide builds the walk around what you want to shoot—so the route feels intentional rather than rushed.
I also like the “your pace, your preferences” approach. The tour can cover more main view points (often 4–5 from the Gellért Hill area) depending on your fitness and how much time you want at each angle. That matters in Budapest because the best shots aren’t just about famous landmarks—they’re about how you approach them, where you stand, and how the scene lines up.
The other big plus is that you’re not limited to the most crowded spots. The walk is designed to help you find vantage points that are less obvious, so you can work on framing without fighting shoulder-to-shoulder crowds for every second.
You can also read our reviews of more tours and experiences in Budapest.


Price and what you actually get for $179.74
At $179.74 per person for a 2–3 hour session, you’re not paying for a giant group bus tour. You’re paying for guided attention, time at specific viewpoints, and gear support with a tripod included.
That price starts to make sense when you factor in two things:
- You get a short, structured route that hits multiple strong compositions in one outing
- The guide can coach basics—composition and camera settings—so your photos improve, not just your vacation memories
Also, the group is capped at 2 travelers, which usually means you can ask questions, adjust your shot plan on the fly, and get feedback without feeling like you’re interrupting a crowd.
If you’re the kind of photographer who already knows exactly what you’re doing, you might not use every coaching element. But if you’re even slightly unsure about settings, nighttime exposure, or how to frame a skyline, you’ll likely get your money’s worth fast.
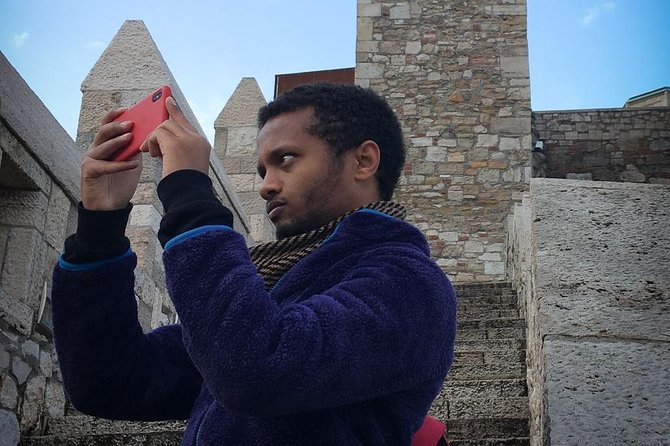
Day vs night in Budapest: pick your light, pick your mood
Budapest looks different at night. That’s obvious. What’s less obvious is how much your camera needs different habits once light drops. This walk runs both day and night options, and the route shifts to match.
In the daytime itinerary, you’re aiming for clarity: river reflections (when conditions cooperate), crisp details on stone and bridge architecture, and bright skies that help you define shapes. Night turns those same subjects into a different game—longer exposures, more careful framing, and a chance for dramatic lighting that makes Budapest feel cinematic.
Gellért Hill is part of both the day and night plan, so it gives you continuity either way. You’ll also hit bridge views that connect multiple landmarks in a single scene—useful if you want photos that feel like Budapest without needing a dozen separate locations.
Practical tip: choose day if you want an easier rhythm and straightforward learning. Choose night if you want the biggest payoff and you’re open to more intentional camera work (this is where the tripod really earns its keep).
Meeting at Batthyány tér and how the walk really runs
The walk starts and ends at Batthyány tér (in front of the metro M2 station). You’ll also agree on the exact ending point at the start of the tour, which gives the guide flexibility based on your progress and what the weather is doing.
The session runs about 2 to 3 hours. Inside that time, the guide can adjust the number of viewpoint stops depending on:
- Your fitness level
- Weather conditions
- Your specific photo requests
That flexibility is a quiet advantage. Instead of “one route for everyone,” you get a plan that can respond—especially important in Budapest where cloud cover, wind on hilltops, or rain can change what’s worth shooting.
And because the tour is near public transportation, you’re not stuck planning a full day just to get to the right spots. You can build it into a normal sightseeing schedule.
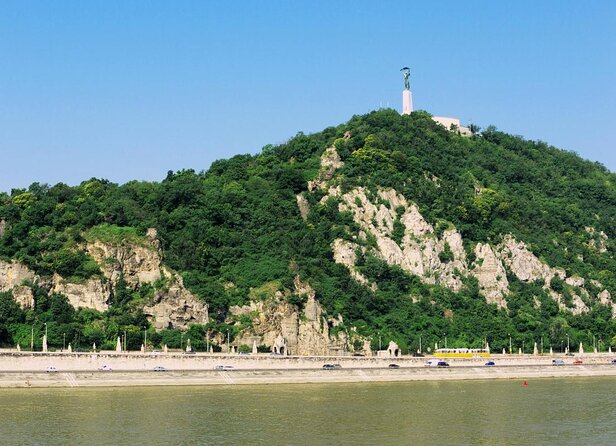
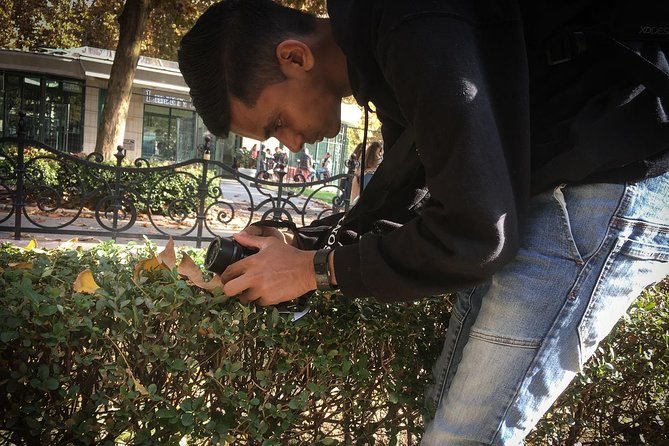
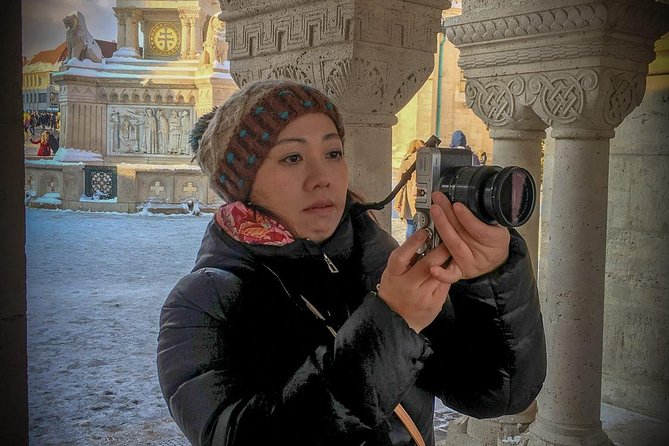
Stop 1: Gellért Hill viewpoints, and how the guide helps you shoot smarter
Gellért Hill is the anchor of the whole walk. It’s on the route for both day and night, and you can expect multiple major view points from this area. The plan can cover 4–5 main viewpoint stops, depending on your preferences and energy.
What makes this stop valuable is not just the view—it’s the practice. From Gellért Hill, you’re working with layers: hilllines, river bends, bridge structure, and the way the city stretches toward the horizon. That gives you a built-in lesson in composition.
If you want beginner help, this is a good time to ask about the basics the guide can explain:
- How to frame a scene so it looks balanced
- How to think about foreground and midground
- How to adjust settings for lower light if you’re on the night route
The tour also allows extra time and additional places if you and the guide agree. That’s ideal if you’re the type who wants a few test shots, checks your results, and then refines your angle.
Drawback to plan for: hilltop weather can be changeable, and you may stand for a while at viewpoints. If you’re sensitive to cold or wind, wear layers for night shoots and keep your gear ready so you’re not fumbling when the light shifts.


Stop 2 (night only): Castell de Buda and the Chain Bridge framing
Castell de Buda shows up on the night route. The payoff here is the angle that includes the Chain Bridge view, with the plan built around the right viewpoint near the roundabout area.
Even if you’ve seen Chain Bridge from postcards, the “in person at night” version works differently. Lights turn bridges into lines and grids. The city becomes a web of highlights—so your challenge is controlling exposure and keeping the composition from turning into one bright blur.
This is where having a guide matters. Instead of wasting time guessing, you get pointed toward strong nighttime spots and a plan that respects how your camera behaves at night. If you’re unsure about settings, ask early so you can adjust before you miss the best moment.
Also note: this is night only. If you’re booking daytime, you’ll get other bridge views instead, so don’t expect the same Chain Bridge moment without choosing the right itinerary.
Stop 3: Liberty Bridge angles with Gellért Hill in the same frame
Liberty Bridge (Szabadság hid) is part of both day and night. The key idea is that you can capture the bridge with Gellért Hill visible, which helps your photos feel like they belong together.
This is a practical photo move. When you photograph landmarks from multiple angles across the city, it’s easy to end up with pictures that feel like random single subjects. By planning shots that link landmarks—bridge plus hill—you get more “place story” in fewer frames.
Timing-wise, you’ll typically spend around 20 minutes here. That’s enough to:
- Try a wide composition
- Step slightly for a tighter framing
- Check your results and refine
If the weather shifts, the guide can adjust how the walk flows, but this stop is always built for bridge structure and city layering, not just quick snapshots.
If you want images that look planned (even if you’re traveling), this stop does that work for you.
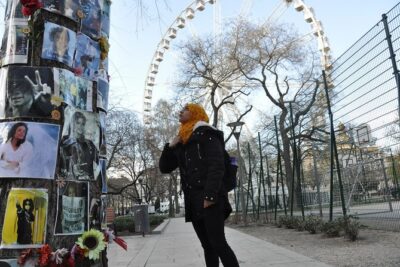
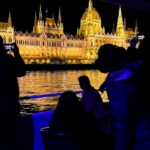
Stop 4: Batthyány Square and the Parliament classic view
Batthyány Square is where the tour leans into the recognizable “Budapest postcard,” specifically a classic Parliament view. It’s on both day and night routes, and you’ll have about 15 minutes at the spot depending on the pacing.
Why is this a smart inclusion? Because it gives you a “confidence shot” moment after the more technical work you may do on hill and bridge compositions. It’s a chance to practice getting the scene centered, keeping vertical lines from leaning, and making sure you aren’t overexposing bright building edges at night.
This is also a good place to ask for targeted help. If you’ve been working through composition and settings on earlier stops, the guide can nudge you toward what will actually improve your shot at this final viewpoint.
One more detail that matters: the whole itinerary depends on your fitness and the weather, so don’t treat this as a guaranteed quick stop and then you’re done. If conditions are perfect or your framing needs adjustment, you can often ask for extra moments.
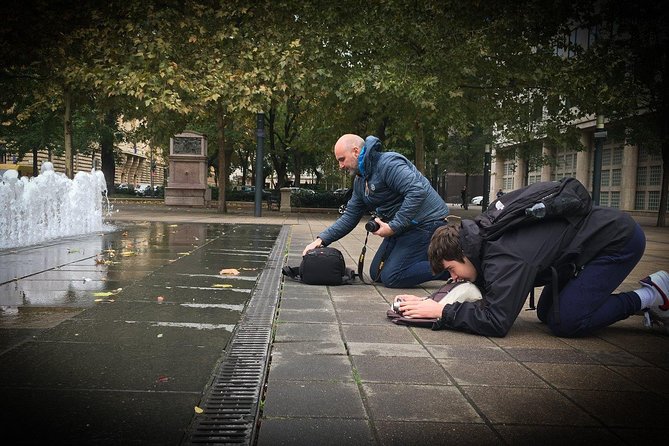
Tripod included: how to use it without ruining the vibe
A tripod can be a pain on a photo walk—unless it’s built into the plan. Here, the tripod is included, so you’re meant to use it, especially for nighttime scenes.
The tripod also changes what you can attempt. You can slow down. You can get your composition right before you shoot. You can do multiple exposures to test settings without rushing.
What I’d focus on:
- Set up as soon as you reach a viewpoint, not after you’ve decided what you want
- Keep one extra habit ready: quick cleanup of lens smudges or light rain on the camera body
- Treat the tripod like a tool to help you think, not like a weight you drag around
If you’re bringing your own tripod too, you can, but the tour includes one, which helps you travel lighter and arrive ready.
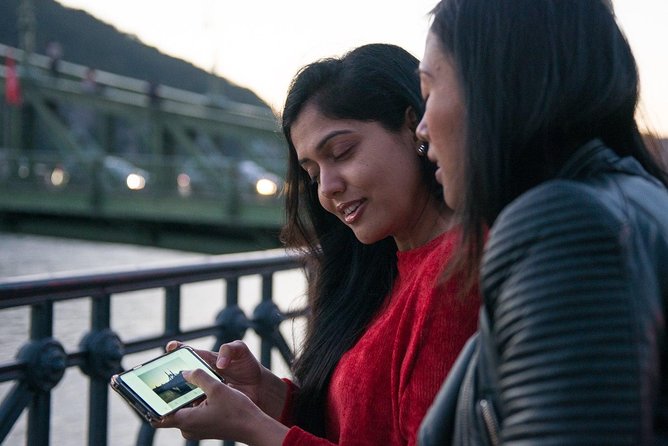
Composition and camera settings help for beginners
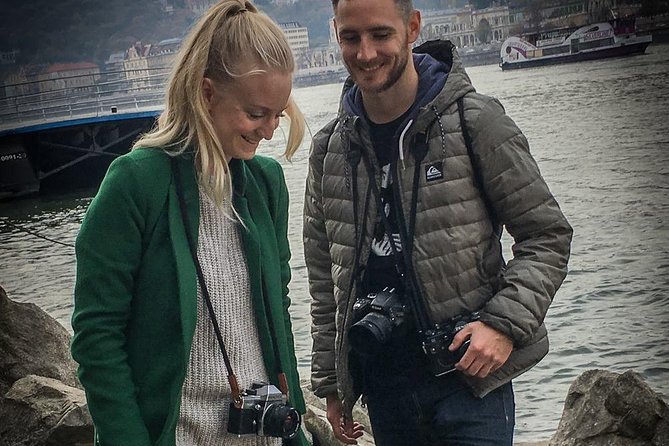
One of the strongest reasons to book this kind of tour is that it can act like a mini lesson without turning into a classroom. If you need help, the guide can explain composition and camera settings in a way that works for what you’re actually shooting.
In one featured guide experience, Zoltan was praised for being patient and for explaining photography clearly, plus steering people toward the best night spots. That combination is gold: you get both technique and location guidance.
Even if you’re not brand-new, a short on-location coaching session can fix habits you’ve been getting wrong (like unbalanced framing or exposure choices that blow out bright areas). You’ll also learn how to make practical decisions fast: what to prioritize, what to ignore, and how to get consistent results across multiple viewpoints.
Pacing, fitness, and what to wear
The itinerary can vary depending on fitness, and the number of viewpoints depends on what you request and how your energy holds up. You’re looking at a walking-and-stopping rhythm rather than long bus rides.
For most people, it’s designed to be doable. But your comfort level will depend on:
- How long you’ll stand at each viewpoint
- Whether you’ll carry a tripod or your own camera bag
- Your tolerance for weather, especially at hilltop night spots
Wear comfortable shoes with grip. If you’re doing the night route, bring layers and a small light for finding your way between setups (not because you’ll be lost, but because it makes adjustments easier).
Who this photo walk fits best
This is a great match if:
- You want a 2–3 hour structured photo outing rather than spending hours searching alone
- You’re curious about photography basics, especially composition and settings
- You want classic Budapest views paired with some quieter, less obvious angles
- You like the idea of day and night options so you can choose your light
It may be less ideal if you prefer a totally independent walk and you already know your exact settings, timing, and compositions. In that case, you might spend less time listening and more time shooting, but you’d still benefit from the viewpoint planning—especially at night.
The small group size helps either way. With a max of 2 travelers, you can usually get questions answered without feeling like you’re competing for attention.
Should you book Budapest Photo Walks?
If your goal is better photos, not just more sightseeing, I think this is a strong booking. The value comes from three things that work together: a tight route with major viewpoints, flexibility based on your needs, and practical coaching that can help you shoot confidently in both daylight and at night.
Book it if you want someone to help you pick the right angles and explain the basics in the moment—especially if you’re new or returning to photography after a long break. Skip it only if you want a totally free-form walk with zero instruction, since the experience is built around guided photo practice.
FAQ
How long is the Budapest Photo Walk?
It’s about 2 to 3 hours.
What does the tour cost?
The price is $179.74 per person.
Does the tour include a tripod?
Yes. A tripod is included.
Is there a day and a night option?
Yes. You can choose between day or nighttime itineraries with flexible dates and times.
Where do we meet, and where does the tour end?
The start is Batthyány tér (in front of the metro M2 station). The tour ends at Batthyány tér as well, but the exact end point is agreed with guests at the beginning of the tour.
Can I cancel for a full refund?
Free cancellation is available. You can cancel up to 24 hours in advance for a full refund.